
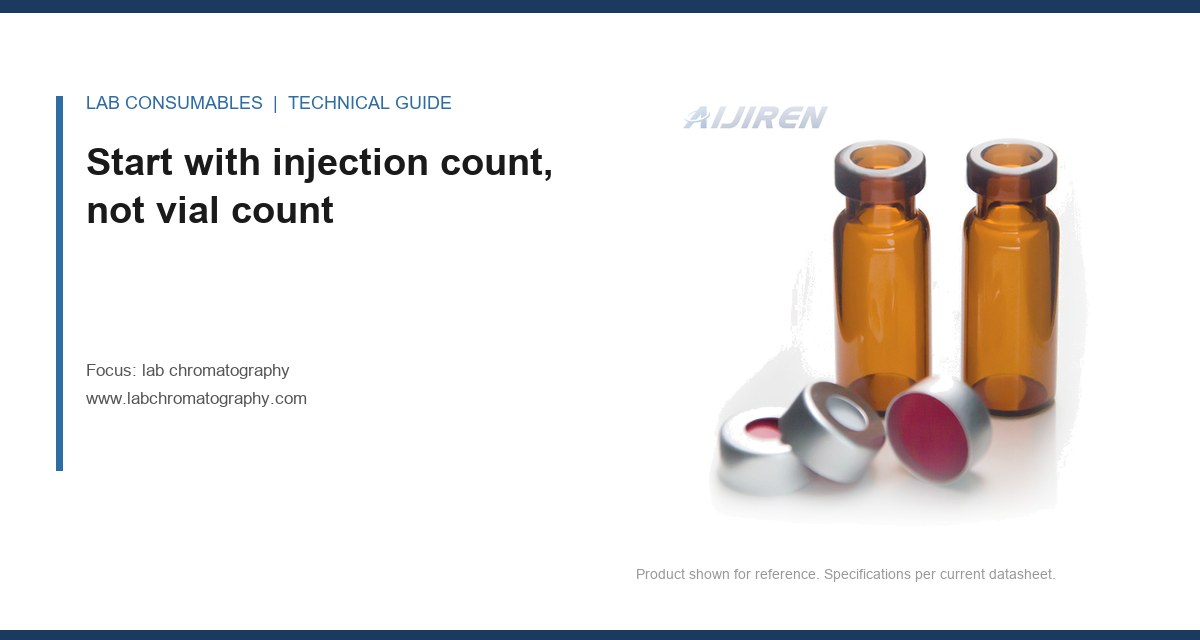
I watched a 96-position autosampler stall at injection 612 of a 900-injection overnight batch. The needle had punched through the same septum spot roughly 300 times, and the resulting core had dropped into vial 47, where it sat over a 1.5 mL fill and partially occluded the needle on the next pull. The run didn’t fail because the column degraded. It failed because nobody had done the puncture-life arithmetic before the batch was scheduled. Sizing lab chromatography capacity for a real injection count is arithmetic, not intuition, and the three numbers that drive it are fill volume, dead volume, and needle punctures per septum.
Most buyers spec a system by deck size. That’s the wrong unit. The unit that matters is injections per unit time, multiplied by the punctures each septum and needle will absorb, multiplied by the fill volume each injection actually consumes.
Work the numbers backwards. If your method runs 8 minutes per injection and you want 400 injections overnight, you need 3,200 minutes of instrument time, which is 53 hours. That doesn’t fit in a 12-hour window. Either you split across two instruments, shorten the run, or accept that “overnight” means 53 hours. I’ve seen procurement sign off on a 110-position deck for a 400-injection batch without checking the cycle time, and the deck size was irrelevant because the batch never fit the schedule.
A practical sizing formula I use:
- Required injections per batch = (samples + standards + QCs + blanks) x replicate count
- Instrument hours required = injections x cycle time (minutes) / 60
- Vials needed = injections / punctures per septum (round up, then add 10% for re-injection)
- Total sample volume = vials x fill volume x (1 + dead volume fraction)
For a 400-injection batch with 2 replicates, that’s 800 injections. At 10 minutes cycle time, 133 instrument hours. At 6 punctures per septum (a realistic figure for a standard silicone/PTFE septa under a 22-gauge needle), that’s 134 vials, plus 10%, so 148 vials. At 1.5 mL fill, that’s 222 mL of prepared sample. If you’re preparing 250 mL batches, you’re cutting it close once you account for dead volume. That’s the arithmetic that should drive every deck, vial, and septum decision.
Fill volume and dead volume are two different budgets
Fill volume is what you put in the vial. Dead volume is what the needle can’t reach. They are not the same number and they don’t scale together.
A standard 2 mL autosampler vial with a 11 mm crimp or screw cap has a nominal capacity of 2 mL, but the usable fill is closer to 1.5 mL for a 22-gauge needle drawing from the bottom. Push past 1.5 mL and you risk the septum contacting liquid during agitation or transport, which is a leak path and a contamination path. Go below about 0.3 mL and the needle starts pulling air on the last few injections, which shows up as RSD drift on the tail of a batch.
Dead volume depends on the needle length, the vial bottom geometry, and the injection depth setting. A typical autosampler needle reaches to within 1 to 2 mm of the vial bottom. In a flat-bottom vial, dead volume is roughly 50 to 100 microliters. In a conical insert, it drops to 15 to 30 microliters. That difference matters when you’re running 6 injections from a 200 microliter sample.
The fill volume table that actually gets used
| Vial type | Nominal capacity | Recommended fill | Dead volume (22G needle) | Usable injections at 20 µL draw |
|---|---|---|---|---|
| 2 mL screw-top, flat bottom | 2.0 mL | 1.5 mL | 60–100 µL | ~70 |
| 2 mL crimp-top, flat bottom | 2.0 mL | 1.5 mL | 60–100 µL | ~70 |
| 2 mL with 250 µL insert | 0.25 mL | 0.20 mL | 15–30 µL | ~8 |
| 1.5 mL wide-mouth | 1.5 mL | 1.0 mL | 50–80 µL | ~46 |
| 4 mL (larger deck) | 4.0 mL | 3.0 mL | 100–150 µL | ~140 |
The “usable injections” column assumes a 20 microliter draw and a 10 microliter needle dead volume between pulls. That last bit is the number most people forget. Between the vial and the loop, there is residual sample in the needle and tubing that gets flushed or pushed back. If you’re running a partial-loop injection, that residual is small (2 to 5 microliters). If you’re running a full-loop injection with a large loop, it can be 20 microliters or more per injection. That residual compounds across a batch and eats into your fill volume budget.
I’ve had a customer call about RSD climbing from 0.8% to 2.4% over a 60-injection batch. The measurement that identified it was the injection-to-injection area of the internal standard, which dropped steadily after injection 45. The fix wasn’t a new column. It was a fill volume increase from 1.0 mL to 1.4 mL and a switch from a flat-bottom to a conical insert for the last 15 injections. The dead volume was the culprit, not the separation.
Needle gauge sets the puncture life, and puncture life sets the vial count
This is where most sizing exercises fall apart. The needle gauge determines how much septum material gets displaced per puncture, and that determines how many punctures a septum survives before it leaks or cores.
A 22-gauge needle (0.72 mm OD) is the workhorse for autosamplers. A 23-gauge (0.64 mm) is common on HPLC autosamplers. A 26-gauge (0.46 mm) is used where sample volume is scarce or where the injection port is small. The smaller the needle, the more punctures a septum survives, but the more back-pressure you generate and the more prone the needle is to bending.
Puncture-life arithmetic
A standard silicone/PTFE septum in a 11 mm crimp cap is rated for 3 to 6 punctures in a single position before it cores or leaks. A pre-slit septum doubles that to 6 to 12 punctures. A PTFE-faced silicone septum with a bonded slit can hit 10 to 15 punctures in the same spot, but only if the needle is centered and the injection depth is set correctly.
Here’s the arithmetic that matters:
- Punctures per septum = batch injections / vials used (if each vial is punctured once per injection)
- Vials needed = total injections / punctures per septum
- Septum cost per batch = vials needed x septum unit cost
For an 800-injection batch with a 6-puncture septum, you need 134 vials. If you use a 3-puncture septum, you need 267 vials. That’s a 2x difference in vial and septum spend, and a 2x difference in deck space. If your deck holds 110 vials, the 3-puncture septum forces a mid-batch reload. The 6-puncture septum doesn’t.
Needle gauge shifts the puncture count. A 22-gauge needle in a non-pre-slit septum gives you 3 to 5 punctures. A 23-gauge in the same septum gives you 5 to 7. A 26-gauge gives you 8 to 10, but you’ll fight back-pressure and needle bending. I default to 22-gauge for routine work and only drop to 23-gauge when the sample volume is under 200 microliters.
The needle-to-septum mismatch that ruins batches
The failure mode I see most often is a 22-gauge needle in a pre-slit septum where the slit hasn’t been aligned to the needle path. The needle punches beside the slit, not through it, and you get the puncture life of a non-pre-slit septum with the cost of a pre-slit one. The symptom is coring at injection 40 to 60, not 200. The fix is a needle guide or a septum alignment check on the deck before the batch starts.
If you’re sourcing septa and vials for a high-injection-count workflow, the lab chromatography catalog lists puncture ratings per lot, and I’d ask for the lot-specific puncture data rather than the catalog number. A septum rated at 6 punctures on average can have a lot that cores at 4.
Deck capacity, cycle time, and the reload overhead nobody budgets
Deck capacity is the number of vials the autosampler can hold at once. It is not the number of injections you can run without intervention. The gap between those two numbers is the reload overhead, and it’s where batches lose hours.
A 110-position deck with a 6-puncture septum and 800 injections needs 134 vials, which means one mid-batch reload. The reload takes 15 to 25 minutes if the vials are pre-capped and labeled, and 45 to 60 minutes if they’re not. That’s 45 to 60 minutes of instrument downtime in a 133-hour batch. It’s not fatal, but it’s the difference between finishing at 6 a.m. and finishing at 7 a.m., and it’s the difference between one operator shift and two.
The arithmetic for deck sizing:
- Reloads per batch = (vials needed / deck capacity) – 1 (round up)
- Reload time = reloads x (15 to 60 minutes, depending on prep)
- Effective batch time = instrument hours + reload time
If you’re running 400 injections with 2 replicates and a 10-minute cycle, that’s 133 instrument hours plus one reload of 30 minutes, so 133.5 hours. If your deck holds 110 vials and you need 134, you have one reload. If your deck holds 60 vials, you have two reloads, and the effective batch time climbs to 134 hours. The deck size isn’t a spec sheet number. It’s a schedule number.
Field case: the 900-injection batch that stalled at 612
The opening scene is worth unpacking because it’s a textbook sizing failure. The method was a 12-minute HPLC run with a 22-gauge needle, a 2 mL screw-top vial with a non-pre-slit silicone/PTFE septum, and a 1.5 mL fill. The batch was 900 injections, 1 replicate, scheduled overnight.
The arithmetic that should have been done: 900 injections / 6 punctures per septum = 150 vials. The deck held 96 positions. That’s two reloads, not one. The operator loaded 96 vials at 6 p.m., expecting to reload at midnight, but the reload wasn’t scheduled. The first 96 vials ran 576 injections (96 vials x 6 punctures), and the 97th vial was a fresh one that had been loaded at the start and sat for 6 hours before its first puncture. The septum on vial 47 had been punctured 5 times by injection 612, and the 6th puncture cored it. The core dropped into the vial, occluded the needle, and the run stalled.
The fix was threefold: switch to a pre-slit septum (12 punctures), reduce the batch to 800 injections by cutting a redundant QC, and schedule the reload at the 96-vial mark. The puncture life went from 6 to 12, the vials needed dropped from 150 to 67, and the deck held 96, so no reload was needed at all. The batch finished in 160 hours instead of stalling at 612 injections. The cost of the fix was a septum change and a QC reduction, not a new instrument.
Field case: the RSD drift that was a dead-volume problem
A different customer, a contract lab running EPA method 8260 volatiles, called about RSD drift on a 60-injection batch. The RSD on the internal standard climbed from 0.9% at injection 1 to 3.1% at injection 60. The column was new, the inlet liner was new, and the septa were pre-slit.
The measurement that identified it was the injection-to-injection area of the internal standard plotted against injection number. The curve was flat for 45 injections, then dropped linearly. That’s not a column problem (which would show as peak shape change) and not an inlet problem (which would show as a step change). It’s a sample-availability problem. The vial was a 2 mL flat-bottom with a 1.0 mL fill, and the needle was a 23-gauge reaching to within 1.5 mm of the bottom. Dead volume was about 80 microliters, and the method was drawing 25 microliters per injection. At 45 injections, the remaining volume was 1.0 mL minus (45 x 25 microliters) minus 80 microliters, which is about 1.0 mL minus 1.125 mL minus 0.08 mL, which is negative. The needle was pulling air.
The fix was a fill volume increase to 1.4 mL and a switch to a conical insert for the last 15 injections. The RSD dropped back to 1.1% for the full 60-injection batch. The lesson is that fill volume and dead volume have to be budgeted per injection, not per vial. A 1.0 mL fill sounds generous until you multiply by the draw volume and add the dead volume.
If you’re running volatiles or any method with a large draw volume, the HPLC filter and sample prep side of the workflow matters too, because a filter that sheds particles into the vial adds to the dead volume and the occlusion risk. I’ve seen a 0.45 micron PTFE filter shed enough fiber to clog a needle at injection 30. The PTFE membrane filter selection is a separate article, but the sizing rule is the same: budget the filter’s hold-up volume into the fill volume, not on top of it.
The sizing checklist I hand to procurement
This is the checklist I use when a lab asks me to size a chromatography setup for a real injection count. It’s not a spec sheet. It’s a decision sequence.
- Count the injections, not the samples. Include standards, QCs, blanks, and replicates. A 200-sample batch with 2 replicates, 10 standards, 6 QCs, and 4 blanks is 420 injections, not 200.
- Multiply by cycle time to get instrument hours. If the hours exceed the available window, split across instruments or shorten the run before you buy a bigger deck.
- Divide by punctures per septum to get vials. Use the lot-specific puncture rating, not the catalog number. A 6-puncture septum and a 3-puncture septum are a 2x difference in vial count.
- Multiply vials by fill volume to get total sample volume. Add the dead volume per vial (50 to 100 microliters for flat-bottom, 15 to 30 for conical inserts) and the needle residual per injection (2 to 20 microliters depending on loop type).
- Check deck capacity against vials needed. If vials needed exceeds deck capacity, budget the reload time (15 to 60 minutes per reload) into the schedule.
- Match needle gauge to septum type. 22-gauge for routine work, 23-gauge for low-volume samples, 26-gauge only when the injection port requires it. Pre-slit septa need alignment checks before the batch starts.
- Verify the fill volume against the vial geometry. A 2 mL vial holds 1.5 mL usable, not 2.0 mL. A 250 microliter insert holds 200 microliters usable, not 250.
- Budget the filter hold-up volume. A 0.45 micron PTFE filter holds 10 to 50 microliters, depending on diameter. That comes out of the fill volume, not on top of it.
For the standards side of the checklist, the EPA SW-846 test methods give the method-specific injection counts and QC requirements, and the Restek technical resources have puncture-life data by septum lot that’s more granular than most catalog sheets. If you’re sourcing the full deck, the Agilent chromatography consumables and Thermo Fisher chromatography and sample handling catalogs both publish puncture ratings and dead-volume figures per vial geometry, which is where I’d start the arithmetic.
What to actually buy for a given injection count
If your batch is under 200 injections with 1 replicate, a 60-position deck, a 2 mL screw-top vial with a pre-slit septum, a 22-gauge needle, and a 1.2 mL fill will carry the batch with no reload. If your batch is 200 to 600 injections, a 110-position deck, a 2 mL vial with a pre-slit septum, a 22-gauge needle, and a 1.5 mL fill will carry it with one reload. If your batch is over 600 injections, you need either a 200-position deck or a septum with a 10-plus puncture rating, and you need to schedule the reload before the batch starts, not after it stalls.
The decision rule is simple: size the deck to the vials needed, size the vials to the punctures per septum, and size the fill to the draw volume plus dead volume plus needle residual. If any of those three numbers is a guess, the batch will fail at the injection count where the guess was wrong. The 900-injection batch that stalled at 612 didn’t fail because the instrument was undersized. It failed because the puncture arithmetic was never done. Do the arithmetic before the batch is scheduled, and the batch finishes on time.
References & further reading
Related resources from our lab consumables network:
- Lab Chromatography at labchromatography.com
- Hplc Filter at hplcfilters.com
- Ptfe Membrane Filter at ptfemembranefilter.com
- Cod Vial at codvial.com
External references and standards: