
I have specified and bought more chromatography systems than I care to count, from a $9,000 isocratic HPLC for a teaching lab to a $180,000 UHPLC-MS bundle for a contract residue lab. The single most expensive mistake I see is buying the instrument before mapping the workflow. The second most expensive is forgetting that the column, the filter, the vial, and the mobile phase are what actually determine whether you get a clean result at 4 a.m. on a Sunday. This guide is the checklist I use with procurement managers and lab managers before any PO goes out.
Before you compare a 1260 Infinity II against a Vanquish Flex, write down what your lab actually analyzes. I ask five questions, and I want numbers, not adjectives.
- How many samples per day, and how many injections per sample? A lab running 40 samples with duplicate injections and a blank is doing 120 injections a day. That is a throughput problem, and it changes the autosampler spec you need.
- What is the analyte concentration range? Trace work at 1 to 50 ppb needs a different detector and a different sample path than a 98% assay at 1 mg/mL.
- What matrix? Clean drinking water is not the same as a soil extract, a plasma sample, or a reaction slurry. Matrix drives filtration, vial choice, and how often you clean the source.
- What detection limit is written into the method or regulation? USP <621>, EPA SW-846 methods, and AOAC procedures all set acceptance criteria. Those criteria, not the sales rep’s demo chromatogram, set the detector budget.
- Who runs it, and what is their skill level? A system that needs a service engineer for every method change will sit idle in a QC lab with two technicians and no in-house electronics support.
If you cannot answer these five in writing, you are not ready to buy. I have watched a lab buy a diode array detector because “we might need spectra later,” then run a single fixed-wavelength method for three years. That is $18,000 of unused capability and a steeper service contract.
Choosing the separation technique
The technique decision comes before the brand decision. Here is how I map common workflows to hardware.
HPLC and UHPLC
Reversed-phase HPLC on a C18 column is the default for most small-molecule work: pharmaceuticals, food additives, environmental extracts. If your method already exists on a 4.6 mm × 150 mm, 5 µm column at 1.0 mL/min, moving to UHPLC means re-validating. A 2.1 mm × 100 mm, 1.8 µm column at 0.4 mL/min will cut run time by 60 to 70% and improve resolution, but it also raises backpressure to 600 to 1,000 bar and demands a system rated for it. Do not put a 1.8 µm column on a 400 bar legacy pump and expect it to last.
Gas chromatography
Volatile and semi-volatile analytes, residual solvents, fatty acid methyl esters, and petroleum fractions go to GC. Decide between packed and capillary, and between a flame ionization detector (FID), electron capture detector (ECD), and mass spectrometry (MS). For EPA method 8270 semivolatiles, a 30 m × 0.25 mm × 0.25 µm 5% phenyl column with MS detection is the workhorse. For residual solvents under USP <467>, a 30 m × 0.32 mm × 1.8 µm column on an FID with a headspace autosampler is standard.
Ion chromatography
Anions and cations in water, brine, and process streams. If you are running chloride, sulfate, and nitrate at low ppm in a high-matrix sample, IC with suppressed conductivity beats HPLC with indirect detection every time. Budget for the suppressor and the eluent generator, not just the pump.
Size exclusion and gel permeation
Polymers and proteins by molecular weight. The column is the whole game here; the instrument can be a basic isocratic pump if your detector is a refractive index or a UV at 280 nm. Temperature control of the column compartment to ±0.1 °C matters more than pump pressure rating.
System components: what to actually specify
The pump, autosampler, column oven, and detector each carry specs that translate directly into reliability. Here is what I check.
Pump
- Pressure rating: 400 bar for conventional HPLC, 1,000 to 1,300 bar for UHPLC. Match it to the column particle size and flow rate.
- Gradient precision: look for a stated flow precision of ±0.075% RSD or better and a composition accuracy of ±0.15% absolute. That is what keeps retention times from drifting between runs.
- Delay volume: a low-pressure mixing pump has a larger delay volume (often 1 to 3 mL) than a high-pressure mixing pump (under 500 µL). For fast gradients on a 2.1 mm column, delay volume is the difference between a 3-minute method and a 5-minute method.
- Seal wash: if you run high-salt buffers, a pump without an automatic seal wash will eat piston seals every few months. I have replaced seals at 600 hours because nobody plumbed the wash.
Autosampler
- Carryover: ask for the validated carryover figure, typically <0.05% or <0.01% for sensitive methods. For a 1 ppb method, 0.05% carryover from a 1 ppm previous injection is a 0.5 ppb ghost peak. That fails your blank.
- Injection volume range: 0.1 to 100 µL covers most work. Below 0.1 µL you need a loop or a different injector.
- Vial format: 2 mL standard, 12 × 32 mm, with a 9 mm screw or crimp closure. If your lab already stocks one format, buy the sampler that takes it. Switching formats mid-project means new trays and new septa.
- Temperature control: a sample compartment held at 4 to 10 °C is not optional for unstable analytes. I have seen derivatized samples degrade 15% in four hours on an ambient tray.
Column oven
Temperature stability of ±0.5 °C is fine for most methods; ±0.1 °C matters for SEC and for methods where retention time is a system suitability criterion. Above 60 °C, check that your column chemistry is rated for it. A standard C18 is usually good to 60 °C; some hybrid particles go to 80 or 90 °C. Exceed the rating and you get accelerated ligand hydrolysis and a column that bleeds and loses retention.
Detector
- UV/Vis: a fixed or variable wavelength detector is enough for a single-wavelength assay. A diode array adds spectra for peak purity and method development. Noise spec of <±0.35 × 10⁻⁵ AU at 254 nm is a reasonable modern baseline.
- Fluorescence: for trace work at sub-ppb levels, fluorescence beats UV by one to two orders of magnitude on the right analyte.
- Refractive index: universal but temperature-sensitive and incompatible with gradients. For SEC and sugar analysis only.
- MS: single quad for confirmation and library matching, triple quad for targeted quantitation at low ppb. Budget for the source cleaning interval: a dirty matrix can foul an ESI source in a week.
The consumables that decide whether the system performs
This is where I see labs save $2,000 on a system and lose $20,000 in rework. The instrument is a pump and a detector. The result comes from the column and everything upstream of it.
Columns
Buy the column chemistry that matches your method, not the one on promotion. A C18 with 100 Å pore size and 5 µm particles is the default for small molecules. For a method that needs a different selectivity, a phenyl-hexyl or a pentafluorophenyl column can resolve what C18 cannot. Keep two spare columns per method in stock. A column that fails system suitability on a Friday afternoon with no backup is a lost weekend. Column vendors such as Agilent and Restek publish retention indices and method-specific application notes that save you a week of method development.
Filters and sample prep
A 0.45 µm filter is the minimum for HPLC; 0.22 µm is better for UHPLC and for anything going onto a sub-2 µm column. Particulate is the number one cause of a clogged frit and a rising backpressure. I specify syringe filters with a PTFE membrane for organic solvents and a PES or nylon membrane for aqueous. A PTFE membrane filter is chemically inert and handles everything from acetonitrile to dichloromethane, which is why it is my default for method development. For high-throughput labs, a HPLC filter in a 96-well plate format with a 0.2 µm membrane cuts prep time and keeps particulate out of the autosampler needle. Buy filters rated for the injection volume and the particle load; a 13 mm filter with a 0.2 µm membrane holds more particulate than a 4 mm filter before it plugs.
Vials and closures
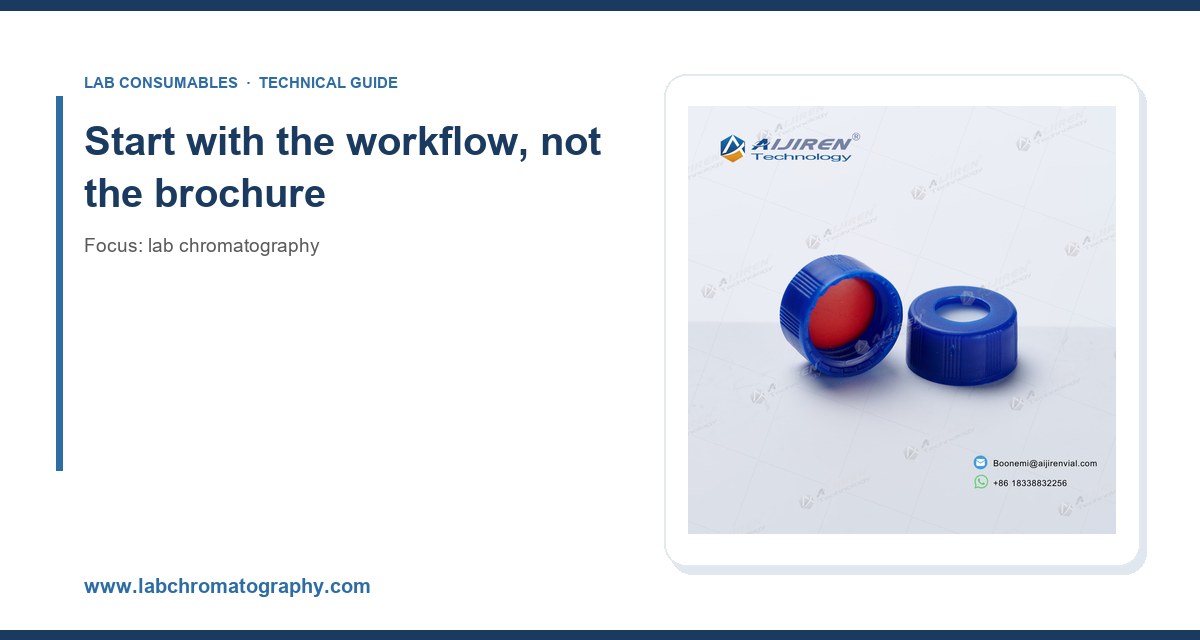
Use the correct vial for the application. A 2 mL clear glass vial with a 9 mm screw thread and a silicone/PTFE septum is standard. For volatile analytes, a crimp or screw cap with a PTFE-lined septum reduces evaporation; an unlined silicone septum will bleed and give you siloxane peaks on GC-MS. For COD and other photometric or titrimetric work, a dedicated COD vial with the correct volume and closure keeps the digestion and the reading consistent. Match the vial to the autosampler tray and the septum to the analyte. A septum that is too soft will coring and drop a plug into the needle.
Selection checklist with concrete numbers
Here is the table I hand to procurement. Fill in your requirement, then compare the vendor spec against it. If a vendor cannot give you a number, that is your answer.
- Pressure rating: HPLC ≥400 bar; UHPLC ≥1,000 bar. Match to column particle size (5 µm needs less, 1.8 µm needs more).
- Flow precision: ≤±0.075% RSD; composition accuracy ≤±0.15% absolute.
- Autosampler carryover: ≤0.05% for general work; ≤0.01% for trace methods.
- Injection volume: 0.1 to 100 µL, with a stated linearity of R² ≥0.999 across the range.
- Column oven: ambient +5 to 80 °C, stability ±0.5 °C (±0.1 °C for SEC).
- Detector noise: UV ≤±0.35 × 10⁻⁵ AU at 254 nm; check the drift spec too.
- Filtration: 0.22 µm for UHPLC, 0.45 µm for HPLC; membrane matched to solvent.
- Vial: 2 mL, 12 × 32 mm, 9 mm screw or crimp; septum matched to analyte volatility.
- Service: response time ≤48 h, on-site repair within 5 business days, spare parts stocked locally.
- Data system: 21 CFR Part 11 audit trail if the lab is regulated; confirm the license count and the cost of adding a second instrument.
Operational precautions that prevent most failures
Most of the failures I get called about are not instrument failures. They are consumable and technique failures. These are the ones that cost the most time.
Degas and filter the mobile phase
Dissolved gas causes pump cavitation and baseline noise. Filter every aqueous buffer through a 0.22 µm membrane and degas under vacuum or helium sparge for 10 to 15 minutes. A buffer that sits for a week grows microbes; a 0.22 µm filter and a fresh preparation every 48 hours is cheaper than a contaminated system.
Condition the column properly
Equilibrate a new column with at least 10 column volumes of mobile phase before the first injection. For a 4.6 mm × 150 mm column, that is about 25 mL at 1.0 mL/min, so 25 minutes. Skip it and your first ten injections will drift. Store columns in the manufacturer’s recommended solvent, usually the mobile phase without buffer or an organic-rich solvent, and cap both ends.
Torque and fittings
Finger-tight is not a spec. Use a wrench and tighten fittings to the manufacturer’s torque, typically 0.4 to 0.6 N·m for a standard 1/16 inch PEEK or stainless fitting. Over-tighten and you deform the ferrule and create a leak path; under-tighten and you get a dead volume peak. A torque wrench costs $60 and saves columns.
Guard columns and inline filters
A guard column or an inline filter ahead of the analytical column catches particulate and strong-retaining matrix. Replace the guard every 200 to 500 injections, or when backpressure rises 10 to 15% above baseline. A guard costs $30; the analytical column it protects costs $500.
Track system suitability every run
Run a suitability standard with every batch. Track tailing factor (accept 0.9 to 1.2 for a new column, up to 2.0 for a method-specified limit), resolution (≥1.5 between critical pairs), and %RSD of replicate injections (≤2.0% for five injections, ≤1.0% for six or more). When those numbers drift, you have a column or a pump problem long before the chromatogram looks wrong.
Troubleshooting checklist
When a method fails, I work this list in order. It catches 80% of problems in under an hour.
- High backpressure: check the inline filter and guard first, then the column frit. A 20 to 30% rise over baseline is a clog. Flush the column in reverse at half flow if the manufacturer allows it.
- Drifting retention time: mobile phase composition error, column temperature instability, or a pump seal leak. Check the buffer pH and the oven reading before you touch the column.
- Ghost peaks: carryover, contaminated mobile phase, or a septum bleed. Run a blank injection with no sample; if the peak persists, it is the system, not the sample.
- Split or fronting peaks: dead volume at a fitting, or too much sample mass on the column. Reduce injection volume or dilute and see if the shape recovers.
- Baseline noise: dissolved gas, a failing lamp, or a dirty flow cell. Check lamp hours against the rated life (often 2,000 to 4,000 hours) and flush the cell.
- No peaks: autosampler needle clogged, injection valve stuck, or the wrong wavelength. Confirm the injection actually happened by watching the pressure trace.
Where to buy and how to keep it running
Buy the instrument from a vendor with local service and a stocked parts depot, and buy the consumables from a supplier who can ship same-day. Thermo Fisher and Agilent both run large consumables catalogs and application support, and both publish method notes you can adapt. The U.S. EPA SW-846 series is the reference I keep on the shelf for environmental methods, and the vendor application notes fill in the column and condition details. For a broader catalog of systems and consumables across brands, the Lab Chromatography index is a useful starting point when you are comparing options.
Budget for the service contract at the same time as the instrument. A preventive maintenance visit that replaces pump seals, check valves, lamp, and injector parts runs a few thousand dollars a year and prevents the failures that cost you a week of samples. Keep a spares kit on the shelf: two sets of pump seals, a check valve, a lamp, a length of tubing, and a box of ferrules. The kit costs less than one emergency call-out.
The short version: map the workflow and the regulatory limit first, size the pump and detector to the column, and treat the filter, vial, and septum as part of the method rather than an afterthought. A lab that specifies a 400 bar HPLC for a 5 µm column, filters every sample through 0.22 µm, and tracks system suitability every batch will outrun a lab with a fancier instrument and sloppy prep. Buy for the method you run today, with headroom for the one you will validate next year, and keep the consumables stocked before the instrument arrives.
References & further reading
Related resources from our lab consumables network:
- Lab Chromatography at labchromatography.com
- Hplc Filter at hplcfilters.com
- Ptfe Membrane Filter at ptfemembranefilter.com
- Cod Vial at codvial.com
External references and standards: